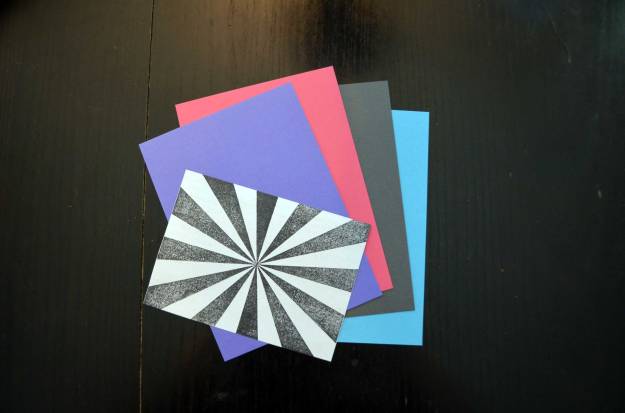
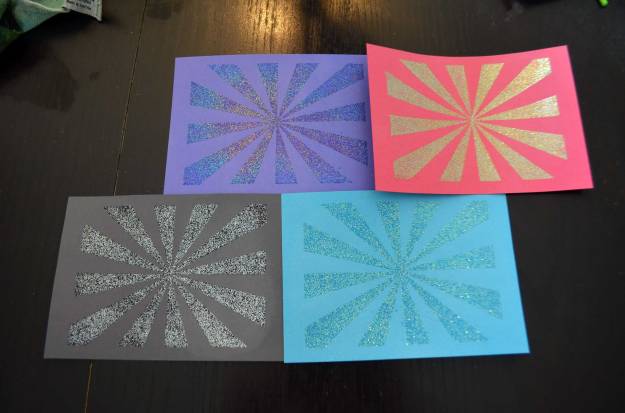
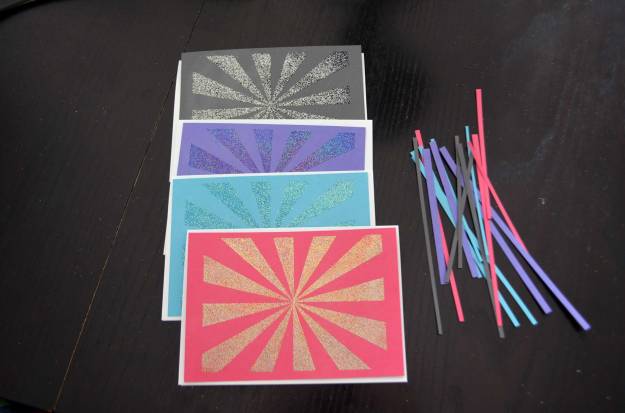
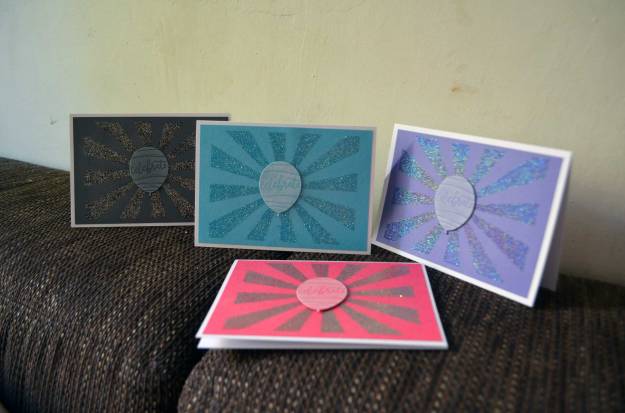
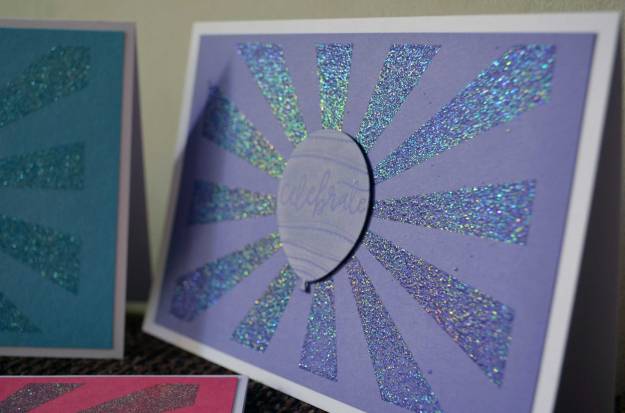
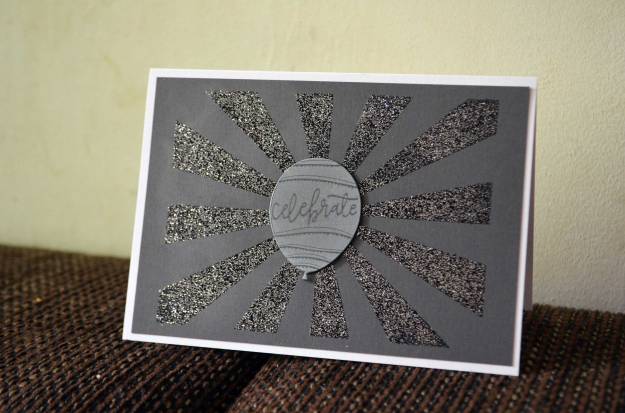
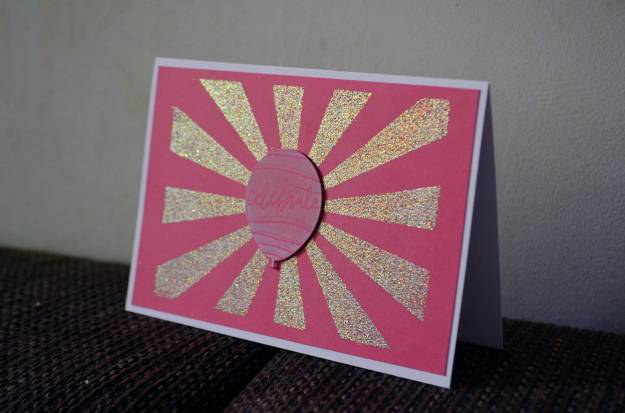
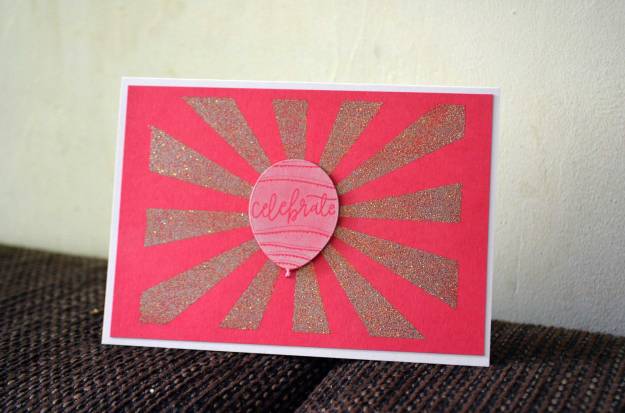
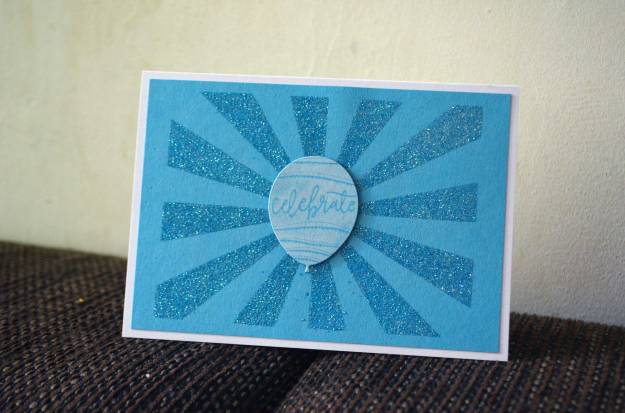
Dieses Design bzw. dessen Herstellung eignet sich hervorragend zur Massenproduktion, weshalb ich auch gleich vier Karten auf einmal gemacht habe (Detailansichten finden sich ganz unten).
This design resp. its creation is perfect for mass-production which is why I made four cards at once (you find more detailed photos at the very bottom).


How To
Ich habe einen ziemlich cleveren Stempel für den Hintergrund verwendet: Er wird nach dem ersten Stempeln einfach um 180 Grad gedreht, um das Motiv zu vervollständigen. Damit ich ohne langes Messen und Herumschieben das Motiv auf jeder Karte gleich an den richtigen Ort stemple, habe ich mir rasch eine Art Guide gebastelt:
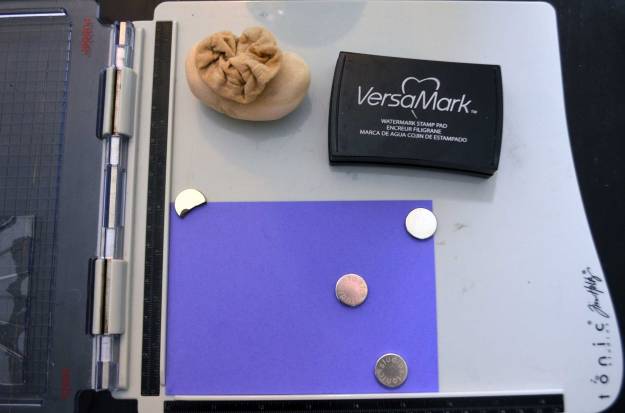
Mit Memento Tuxedo Black habe ich das Motiv ganz rasch auf ein Stück Kopierpapier gestempelt und dann randlos ausgeschnitten. Ich habe meine Stamp Platform benutzt, das Ganze ist aber auch mit einem Acrylblock machbar.
I used a pretty clever stamp to create the background: After stamping for the first time, you turn the stamp 180 degrees and stamp again to complete the image. To spare me measuring and shifting the stamp and to make sure I stamp the image to the exact same spot each time, I quickly made a kind of guide:
I stamped the image with Memento Tuxedo Black onto a piece of copy paper and cut it out without leaving a border. I used my stamp platform but you can do this with an acrylic block as well.
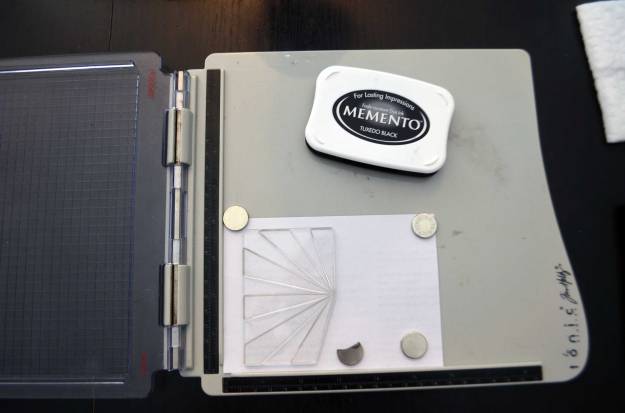
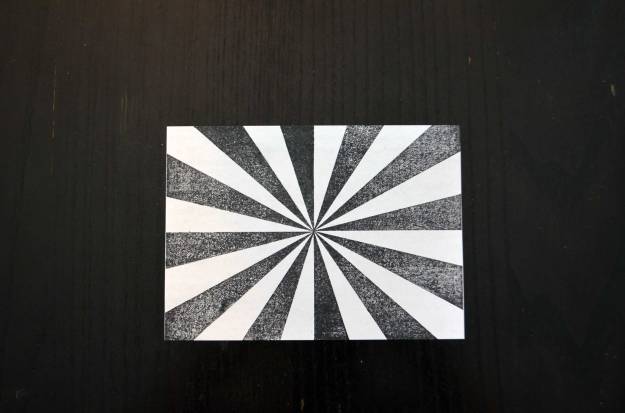
Das ausgeschnittene Motiv ist etwas kleiner als die vier Panels, die ich mir zurechtgeschnitten habe.
The image is a bit smaller than the four panels I prepared.
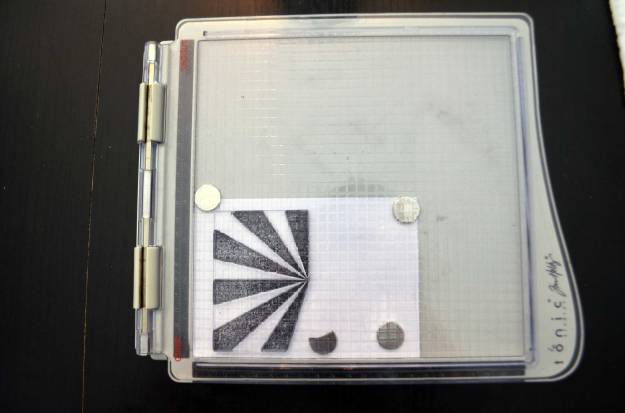
Weil ich eine Stempelhilfe – meine Stamp Platform – verwendet habe, ist mein Guide nur einmal zum Einsatz gekommen: Ich habe das Panel eingelegt und den Guide darauf mittig ausgerichtet. Dann konnte ich den Stempel auf dem Guide ausrichten, den Deckel der Stempelhilfe schließen und so den Stempel aufnehmen.
Because I used a stamp tool – my stamp platform –, I needed the guide just once: I put my panel in the stamp tool and adjusted the guide in the center. Next, I lined up the stamp and closed the lid of the stamp tool to pick up the stamp.
Dann habe ich den Guide entfernt, den Cardstock mit meinem Antistatiktool behandelt und die erste Hälfte des Motivs mit VersaMark aufgestempelt. Den Stempel habe ich mit einem Microfasertuch gereinigt, von der Tür der Stempelhilfe abgezogen, am bereits gestempelten Motiv ausgerichtet und wieder mit der Tür aufgenommen. Dann konnte ich die zweite Hälfte stempeln.
I removed the guide, prepared the cardstock with my anti-static tool, and stamped the first half of the image with VersaMark. I used a microfibre cloth to clean the stamp, removed it from the stamp platform’s lid, aligned it with the stamped image and picked it up once again by closing the stamp tool’s lid. Then I stamped the second half.
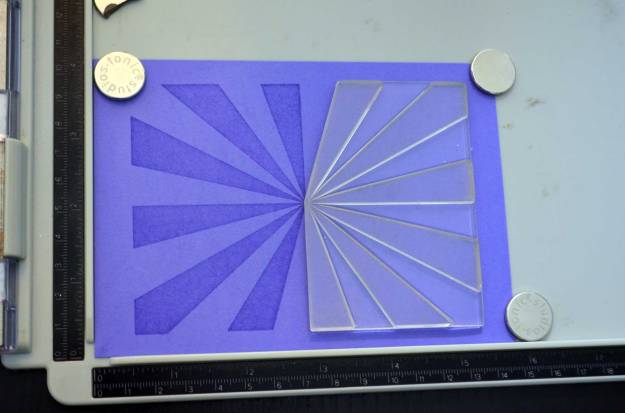
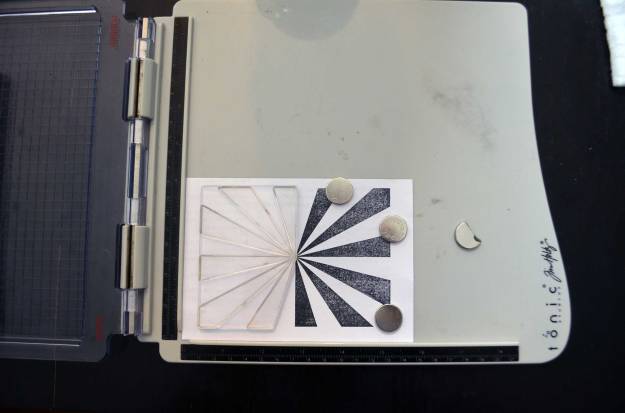
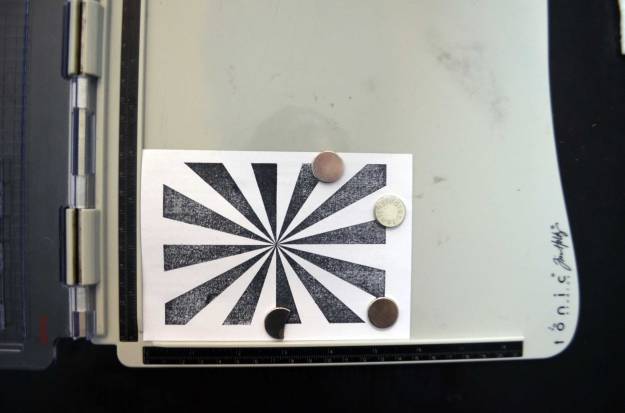
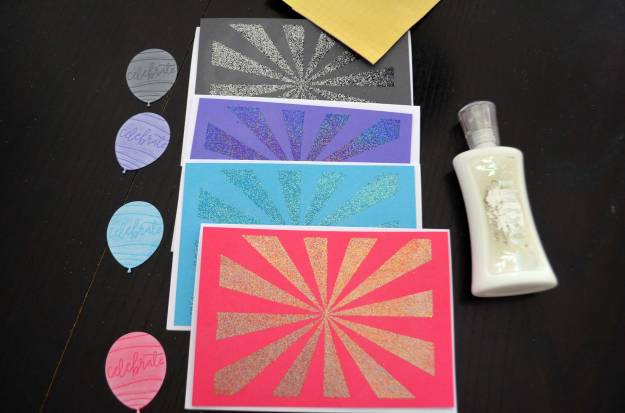
Nach dem zweiten Stempeln habe ich den Stempel einfach in der Stempelhilfe gelassen (für das nächste Panel). Das Panel habe ich rausgenommen und embosst.
After I stamped for the second time, I simply left the stamp on the stamp tool’s lid (for the next panel). I removed the panel and did some heat-embossing.
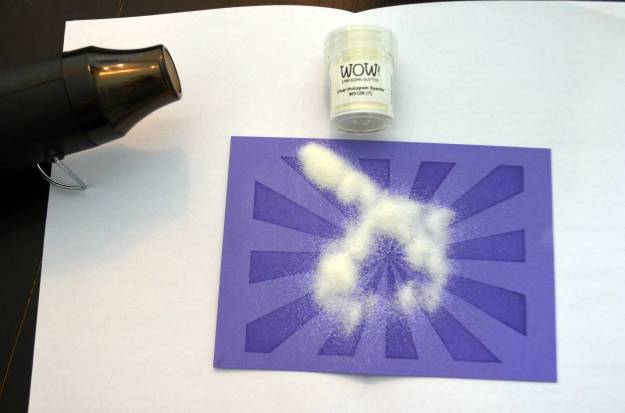
Dann habe ich die anderen drei Panels bestempelt und embosst. Weil ich den Stempel immer in der Stempelhilfe belassen habe, ging das recht flott.
I repeated stamping and embossing for the other three panels. Because I left the stamp on the lid everytime, this was done in no time.

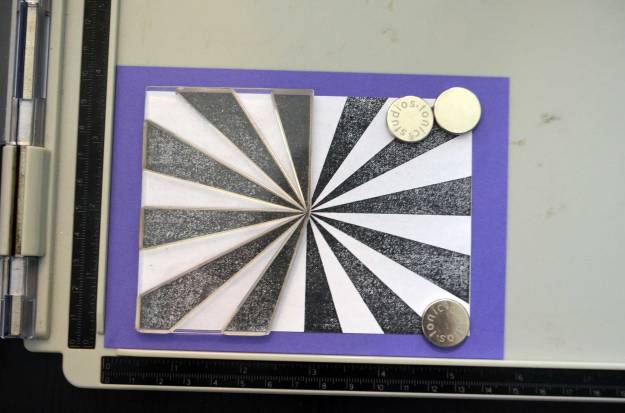
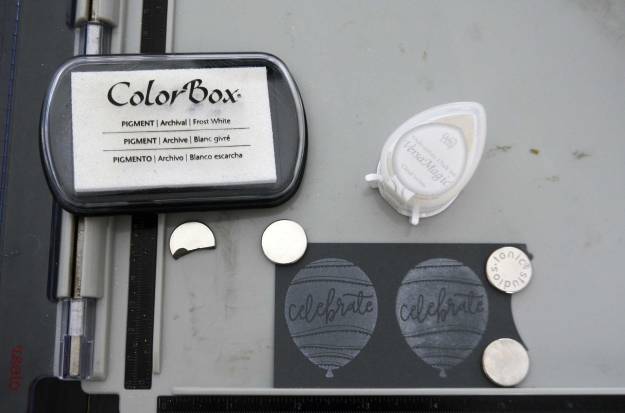
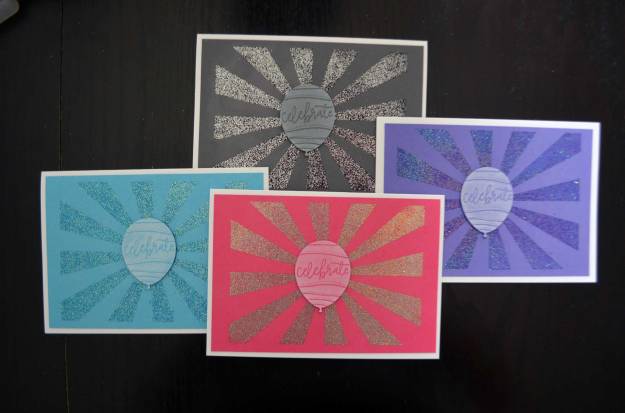
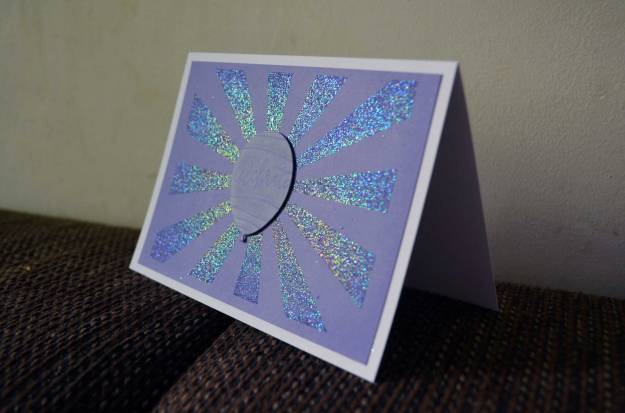
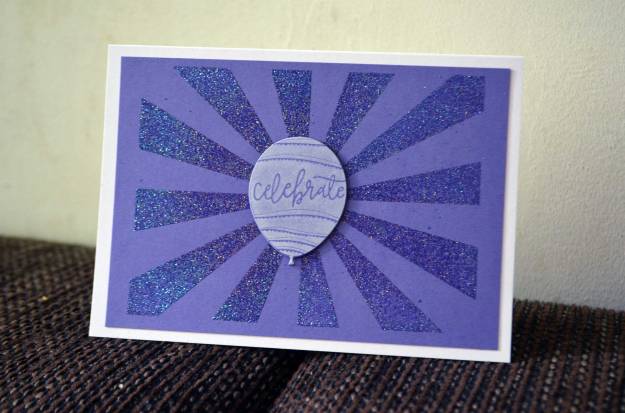
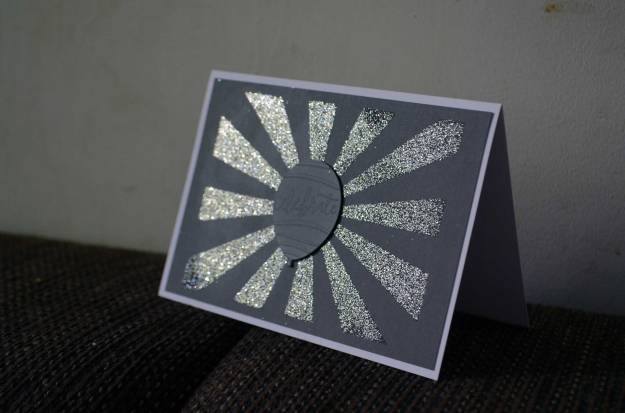
Als Eyecatcher habe ich aus Cardstockresten einen Luftballon ausgestanzt und mit weißer Pigmenttinte bestempelt.
For my focal point, I die-cut balloons from scraps of cardstock and stamped onto them with white pigment ink.
Ich habe zwei verschiedene Pigmenttinten ausprobiert (mittlerweile habe ich mir eine dritte einer anderen Marke bestellt auf Empfehlung hin) und die ColorBox verwendet, obwohl ich auch mit ihr nicht wirklich zufrieden war. Angestrebt hatte ich ein satteres Weiß – aber nach einigen Stunden hat die Tinte offenbar nachgezogen. Der Stempelabdruck ist tatsächlich noch etwas heller und klarer geworden.
I tried two different pigment inks (I’ve followed recommendations from fellow crafters and ordered a third option in the meantime) and went with ColorBox although I wasn’t completely happy with the result. I strove for a brighter, more saturated white. But after a few hours, something happend with the ink: It got a bit brighter and deeper.
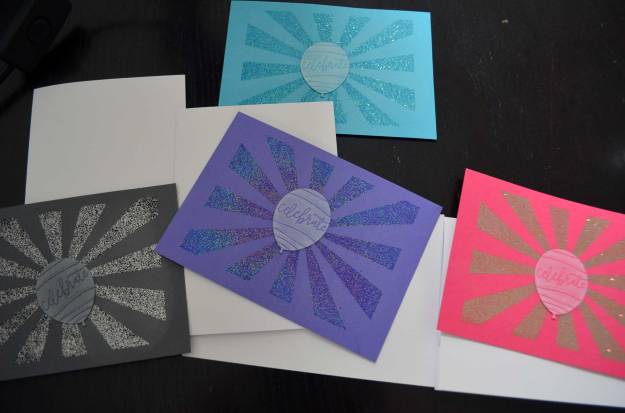
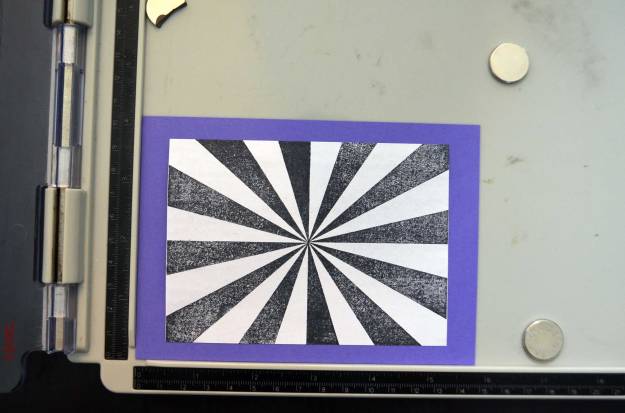
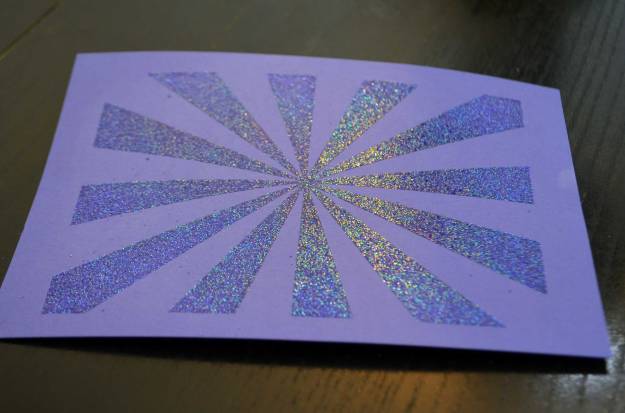
Anschließend habe ich die Panels noch etwas kleiner geschnitten, damit sich beim Aufkleben (mit Flüssigklebstoff) auf die Klappkarte ein schmaler Rahmen ergibt. Die Luftballons habe ich mit ein paar dreidimensionalen Klebepads angebracht.
Next, I trimmed down the panels a little bit. Thus, the note card provides kind of a frame – its white shows around the panel, once the panel is glued down on the note card (I used liquid adhesive). To adhere the balloons, I used some foam squares.

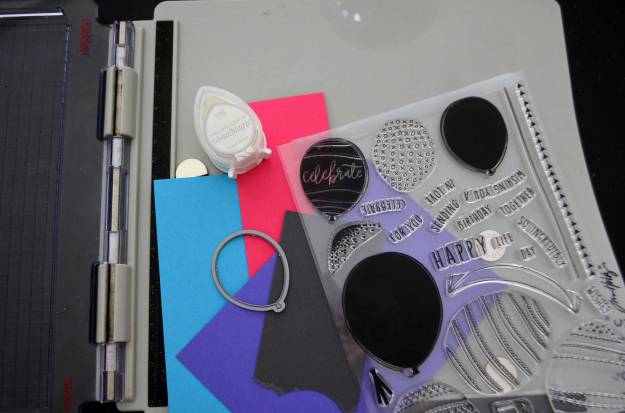
Benutzte Materialien / Supplies I used
Papier / Paper
- Cardstock in Blau, Pink, Lila und Dunkelgrau / cardstock in blue, pink, lilac, and dark grey
- Klappkarten in Weiß / prefold cards in white
- Kopierpapier / copy paper
Stanzen / Dies
- Happy Balloons (Concord & 9th)
Stempel / Stamps
- Big Top Background (WPlus9)
- Happy Balloons (Concord & 9th)
Stempelfarben / Inks
- ColorBox/Frost White (Clearsnap)
- VersaMark (Tsukineko)
Embossing / Heat Embossing
- Black Twinkle (WOW!)
- Clear Hologram Sparkle (WOW!)
- Clear Sparkle (WOW!)
- Cloud 9 (WOW!)
Werkzeug & Klebstoffe / Tools & Adhesives
- Antistatiktool / anti-static tool
- Big Shot + Platten + magnetische Platte / Big Shot + cutting pads + magnetic platform
- dreidimensionale Klebepads (Foam Pads) / foam squares
- Heat Tool (WOW!)
- Nuvo Deluxe Adhesive (Tonic Studios)
- Paper Trimmer 12,25″/31 cm Maxi Guillotine 1980ePaper Trimmer 12,25″/31 cm Maxi Guillotine 1980e (Tonic Studios)
- Tim Holtz Stamp Platform (Tonic Studios)
