
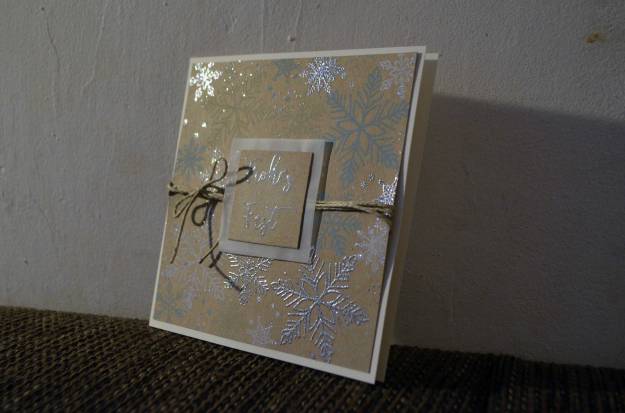
Schneeflocken in verschiedenen Farben, teilweise embosst, zieren diese schlichten Karten. Dank Turnabout-Stempel sind sie rasch gemacht.
All over these simple cards: snowflakes in different colours, some heat-embossed. Thanks to a turnabout stamp, they are made in no time.
How to
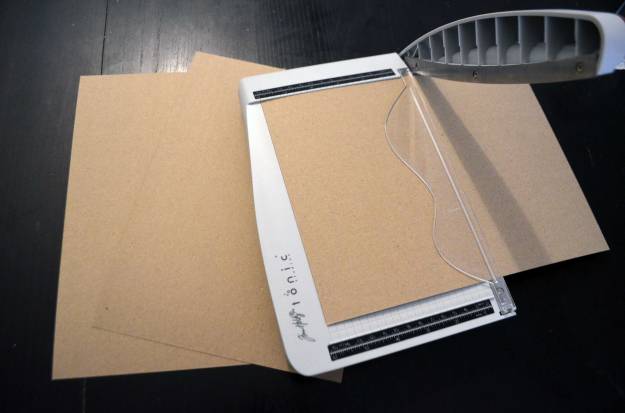
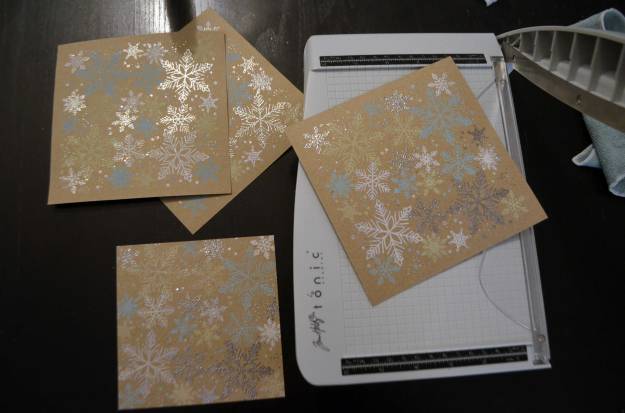
Wie immer habe ich damit begonnen, meine Panels zurechtzuschneiden. Dieses Mal habe ich Kraftcardstock benutzt und 15 x 15 cm große Quadrate geschnitten, weil es sich mit diesen Maßen besonders einfach mit Turnabout-Stemplen arbeiten lässt.
As always, I cut my panels first. This time, I used craft cardstock and cut 15 x 15 cm squares. With these measurements, it’s especially easy to work with turnabout stamps.
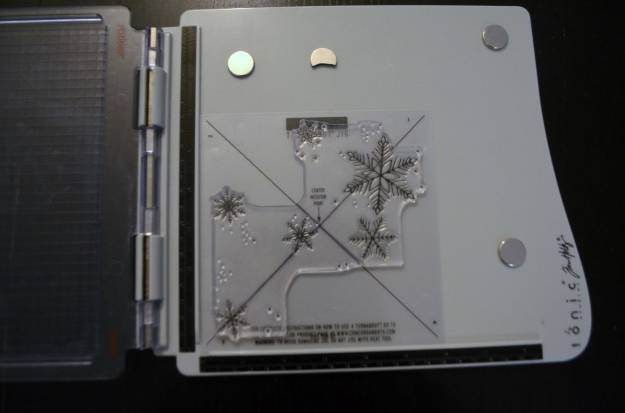
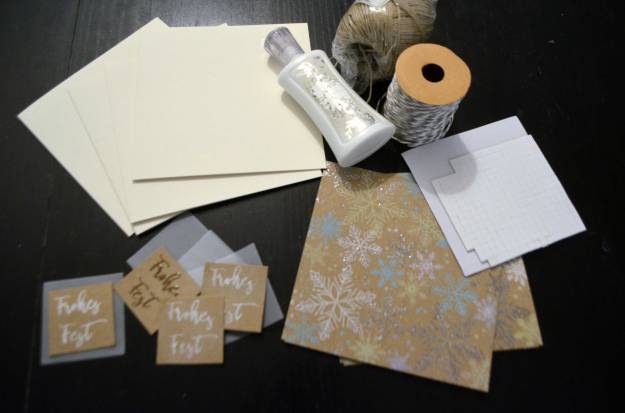
Hier auf einen Blick, was ich für die Panels benutzt habe: ein Stamp Tool, VersaMark und Embossing Powder, zwei Distress Oxide-Farbtöne, weiße Pigmenttinte, die Panels selbst, den Turnabout-Stempel, die Turnabout Ausrichthilfe und die Turnabout-Schablone.
Here’s what I’ve used at a glance: a stamp tool, VersaMark and embossing powder, two Distress Oxide pads, white pigment ink, the panels, the turnabout stamp, the turnabout alignment aid, and the turnabout jig.

Die Ausrichthilfe und die Schablone sind hilfreich beim richtigen Ausrichten des Stempels – aber es geht auch ohne sie. Wie man (ob mit Hilfen oder ohne) mit Turnabout-Stempeln arbeitet, erfährt man auf der Website des Herstellers, Concord & 9th, oder in zahlreichen YouTube-Videos.
The alignment aid and the jig are helpful when it comes to align the stamp – but you don’t necessarily need them. You can find out how turnabout stamps work (with or without jig and alignment aid) by visiting Concord & 9th’s website or by watching one of the many YouTube videos about those stamps.
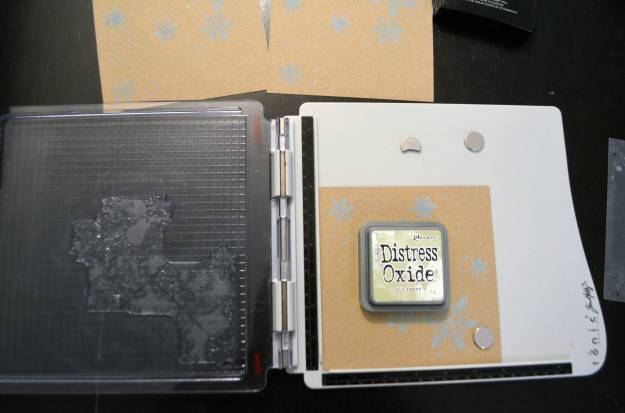
Den ersten Turn habe ich mit Tumbled Glass gestempelt, …
I used Tumbled Glass for the first turn …

… den zweiten Turn mit Old Paper, …
… the second turn with Old Paper …
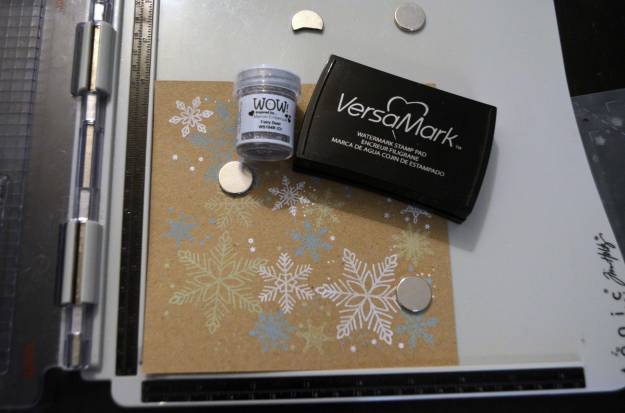
… und den dritten Turn mit der weißen Pigmenttinte.
… and the third turn with white pigment ink.

Nach diesen drei Runden habe ich die Panels mit meinem Heat Tool behandelt, da alle drei Tinten (besonders die weiße Pigmenttinte) eher langsam trocknen und ich ja noch embossen wollte. Damit das Embossing Powder aber nicht an allen Schneeflocken haften bleibt, musste ich trocknen.
After these three turns, I dried my panels with my heat tool. All used inks (esp. the pigment ink) dry slowly, and because I wanted to heat-emboss the last turn, I needed the already stamped images to be dry – otherwise, the embossing powder would stick to each snowflake.

Nach dem Trocknen habe ich den vierten Turn mit VersaMark gestempelt und im Anschluss embosst.
After the drying, I stamped the forth turn with VersaMark and heat-embossed afterwards.
Danach habe ich die Panels etwas verkleinert, weil sie gleich groß waren wie die Klappkarten, auf die ich sie kleben wollte – ich wollte aber, dass der Hintergrund eine Art Rahmen bekommt.
Afterwards, I trimmed all edges of the panels because they were the same size as the note cards onto which I wanted to glue them. In order to create kind of a frame around the background, I needed the panels to be a bit smaller.
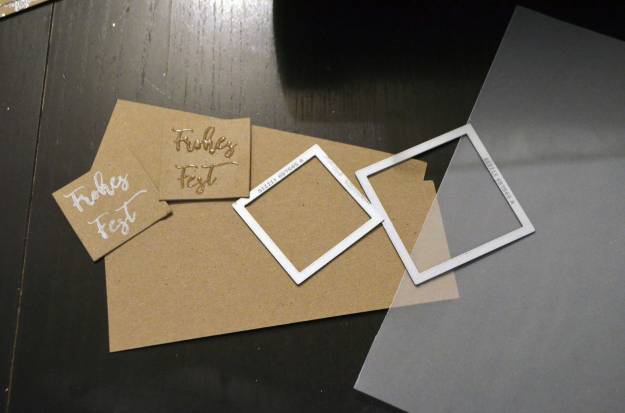
Aus den Cardstockresten habe ich kleine Quadrate gestanzt und mit Alphabetstempeln „Frohes Fest“ aufgestempelt – dreimal mit weißer Pigmenttinte, einmal mit VersaMark (im Anschluss habe ich transparent embosst). Mit einer etwas größeren Stanze habe ich aus Transparentpaper ebenfalls Quadrate gestanzt, um die kleineren Quadrate zu hinterlegen.
From the cardstock leftovers, I die-cut small squares onto which I stamped „Frohes Fest“ (something like „Happy Holidays“) with alphabet stamps. I used white pigment ink resp. VersaMark (and heat-embossed with clear embossing powder). With a slightly bigger die, I cut squares from transparent paper in order to mat the smaller squares.

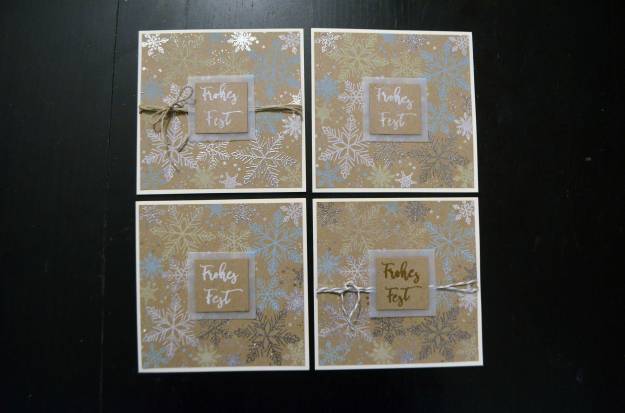
Mit Flüssigkleber habe ich die Panels auf die Klappkarten geklebt. Auch die transparenten Quadrate habe ich mit Flüssigkleber unter die kleineren Quadrate geklebt. Um das Ganze auf dem Panel zu befestigen, habe ich dreidimensionale Klebepads benutzt. Zum Verzieren habe ich für zwei der Karten Schnüre verwendet.
I used liquid adhesive to adhere the panels onto the note cards. I used liquid adhesive again to glue down the smaller squares onto the transparent squares. With foam squares, I stuck down both sentiments. I embellished two of the cards with twine.


Benutzte Materialien / Supplies I used
Papier / Paper
- Kraftcardstock in Weiß / cardstock in kraft brown
- Transparentpapier / transparent paper
Stanzen / Dies
- Framelits Die Set 8PK Squares (Sizzix)
Stempel / Stamps
- Perfectly Penned (Concord & 9th)
- Snowflakes Turnabout (Concord & 9th)
Stempelfarben / Inks
- Distress Oxide/Old Paper, Tumbled Glass (Ranger)
- Hero Hues/Unicorn Pigment Ink (Hero Arts)
- VersaMark (Tsukineko)
Embossing / Heat-Embossing
- Fairy Dust (WOW!)
Werkzeug & Klebstoffe / Tools & Adhesives
- Antistatiktool / anti-static tool
- Acrylblock / acrylic block
- Big Shot + Platten + magnetische Platte / Big Shot + cutting pads + magentic platform
- dreidimensionale Klebepads (Foam Pads) / foam squares
- Heat Tool (WOW!)
- Nuvo Deluxe Adhesive (Tonic Studios)
- Paper Trimmer 8,5″/22 cm 160e (Tonic Studios)
- Stamp Shammy (Lawn Fawn)
- Tim Holtz Stamp Platform (Tonic Studios)
- Turnabout Alignment Aid (Concord & 9th)
- Turnabout Jigs (Concord & 9th)
Embellishments
- Papierkordel in Beige/Weiß / paper string
- Zwirn / Twine
