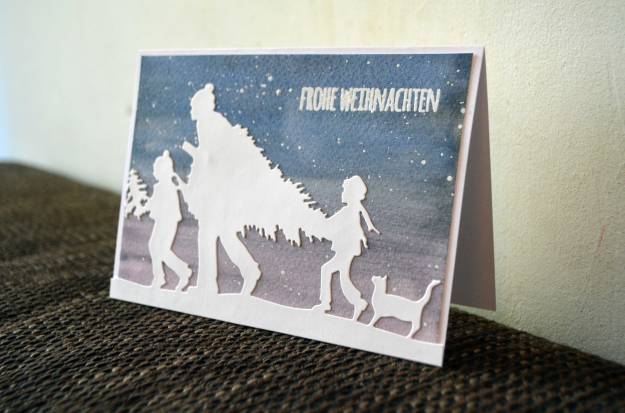
Silhouetten, kombiniert mit einem Aquarellhintergrund – simpel und recht flott gemacht sind diese Karten.
Silhouettes on a watercolour background – these cards are simple and pretty fast done.
Wer wissen will, wie ich vorgegangen bin, muss einfach nur weiterlesen.
If you want to know how I did them, just keep on reading.
How to
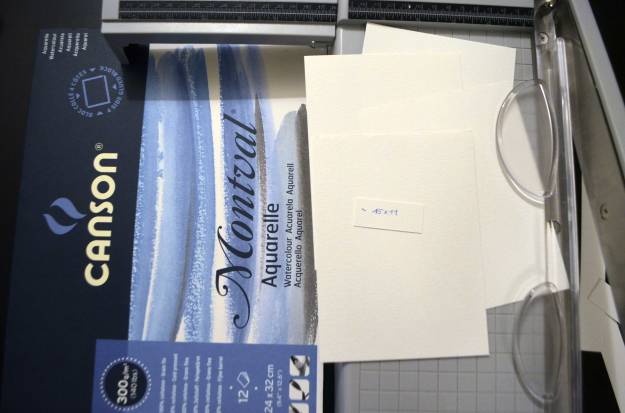
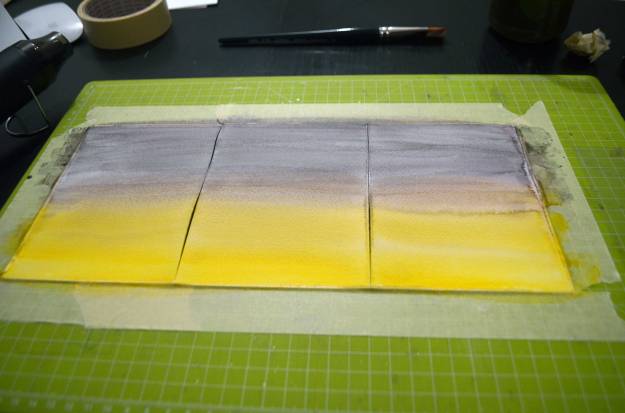
Da ich von diesen Karten gleich mehrere machen wollte, habe ich auch gleich mehrere Panels vorbereitet. Gearbeitet habe ich mit schwerem Aquarellpapier (300 g/m²). Jedes Panel misst 15 x 11 cm, was etwas größer ist als A6. Diese Übergröße war nötig, weil ich die Panels mit Malerkrepp befestigen musste, bevor ich sie bemalen konnte.
As I wanted to make several cards at once, I prepared several panels. I worked on heavy-weight watercolour paper (300 gsm). Each panel measures 15 x 11 cm, which is slightly bigger than A6. I needed the panels to be oversized in order to have room for the masking tape I used to tape them down before colouring.
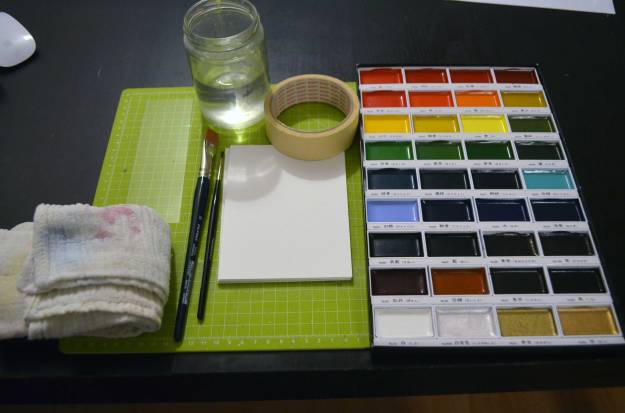
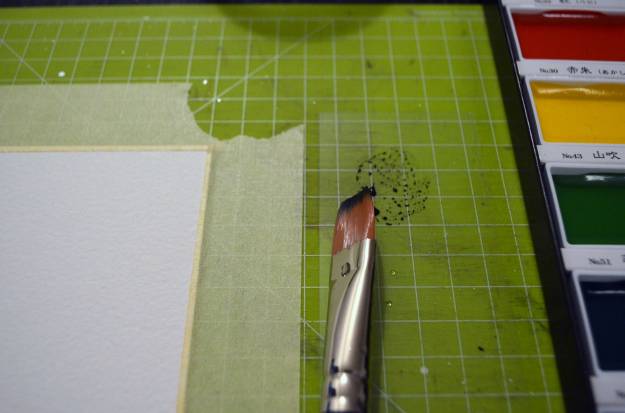
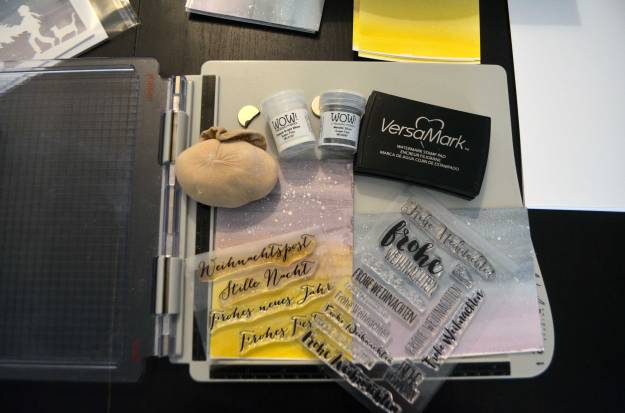
Hier auf einen Blick, was ich für die Hintergründe benutzt habe: eine Unterlage, Aquarellfarben (Kuretake Gansai Tambi, siehe Materialliste ganz unten), Wasser, Pinsel, einen Folienrest, Malerkrepp, ein trockenes Baumwolltuch und die Panels.
All I used for my backgrounds at a glance: a mat, watercolours (Kuretake Gansai Tambi, see list of supplies down below), water, paintbrushes, a scrap of acetate, masking tape, a dry cotton cloth, and the panels.
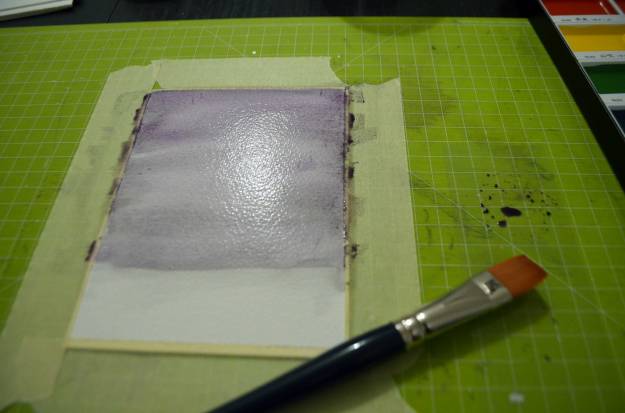
Mit dem Malerkrepp habe ich das Panel auf der Unterlage befestigt. So soll verhindert werden, dass sich das Aquarellpapier wellt (was allerdings sowieso nicht passieren sollte, da ich sehr schweres Papier verwendet habe).
With the masking tape, I taped down the panel to the mat in order to prevent warping of the paper (although that should have been quite unlikely as I used very heavy-weight paper).

Den Folienrest habe ich als Mischpalette verwendet.
I used the scrap of acetate as a palette.
Ich wollte einen winterlichen Abendhimmel andeuten. Ich habe mit viel Wasser und wenig Farbe eine erste Schicht aufgetragen: Mit einem flachen Pinsel habe ich von oben nach unten in Strichen von links nach rechts und zurück gearbeitet. So blendet die Farbe nach unten hin aus.
I wanted to create a wintry evening sky. To apply the first layer, I used much water und little colour: I worked with a flat brush. Starting at the top, I went to the bottom with strokes from left to right and right to left. This way, the colour fades out gradually.

Da mir die erste Schicht noch zu hell war, habe ich nach einer kurzen Trocknungszeit das Ganze wiederholt.
I found the first layer to be too light, so I let it dry for a short time and repeated everything.
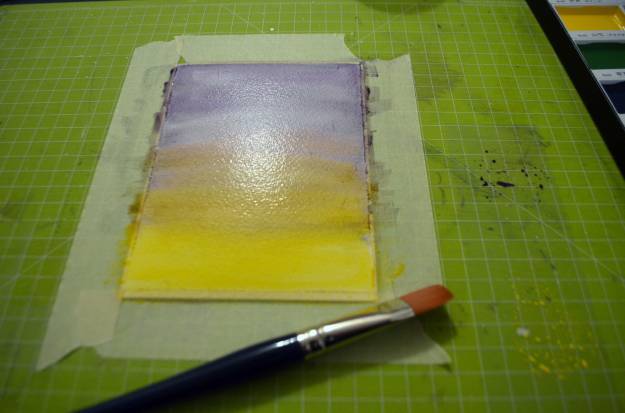
Gleich im Anschluss habe ich meine zweite Farbe aufgetragen. Vorgegangen bin ich wie zuvor, nur dass ich dieses Mal von unten nach oben gearbeitet habe.
Directly after that, I applied the second colour. I did the same as before, but started at the bottom and worked towards the top.
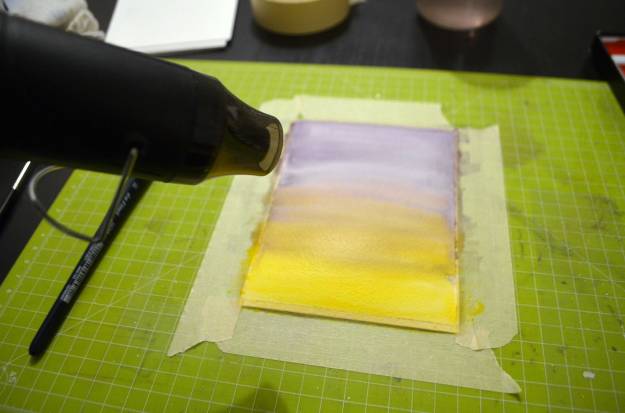
Nachdem ich mit dem Ergebnis zufrieden war, habe ich mein Heat Tool benutzt, um den Trocknungsprozess zu beschleunigen. Wer Zeit hat, kann das Papier einfach lufttrocknen lassen.
Once I was happy with the background, I used my heat tool to speed up the drying process. If you have the time, you can let it air-dry as well.
 Für die Sterne habe ich ein wenig Silber mit viel Wasser vermischt und die Farbe aufgespritzt. Dazu habe ich den Pinsel über das Panel gehalten und mit dem Zeigefinger leicht darauf geklopft.
For the stars, I diluted a bit of silver with lots of water and made splatters. To do so, I tapped the paintbrush while holding it over the panel.


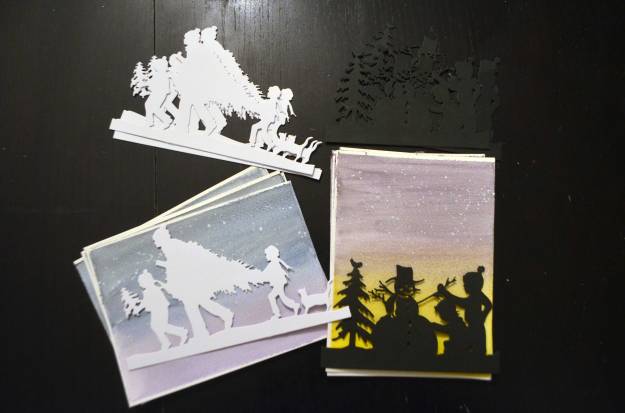
Um Zeit zu sparen, habe ich die restlichen Hintergründe gleichzeitig hergestellt. Vorgegangen bin ich wie zuvor. Auch die Hintergründe für mein zweites Motiv sind auf diese Art entstanden; ich habe einfach nur andere Farben benutzt und das Panel um 90 Grad gedreht.
To save time, I created the rest of the backgrounds all at once. The process was the same as before. The backgrounds for my second focal point were done the same way. I just used different colours and rotated the panel 90 degrees.

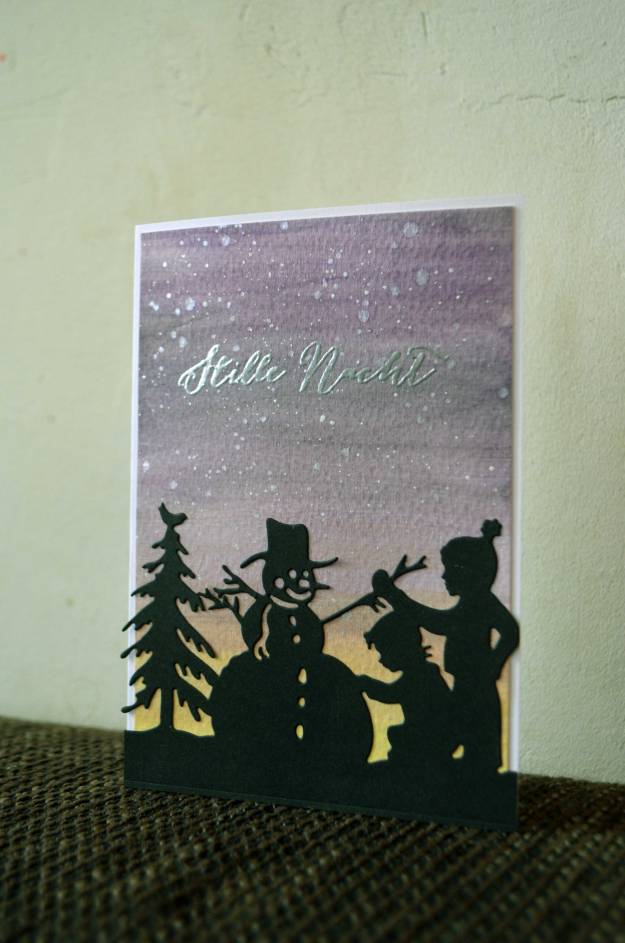
Die Silhouetten habe ich ausgestanzt – die schneemannbauenden Kinder aus schwarzem, die baumtragende Familie aus weißem Cardstock.
I die-cut the silhouettes from black (the children building a snowman) resp. white (the family carrying a tree) cardstock.

Die weißen Ränder, die durchs Festkleben entstanden sind, habe ich weggeschnitten.
I trimmed off the white boarders that are the result of the taping.

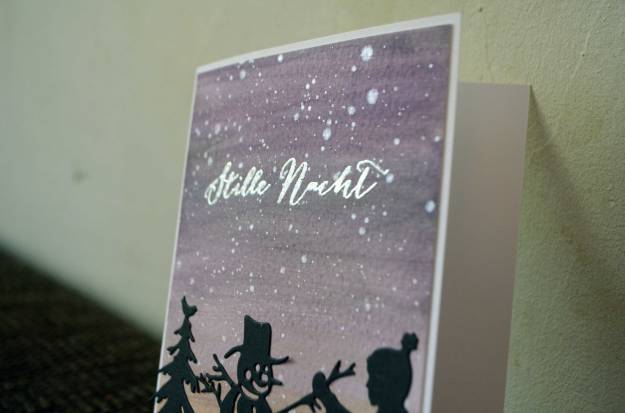
Den Gruß habe ich jeweils embosst – einmal in Weiß, einmal in Silber.
I heat-embossed the sentiment – for the one card in white, for the other in silver.
Mit Flüssigkleber habe ich sowohl die Silhouetten auf die Panels als auch die Panels auf die Klappkarten geklebt.
I used liquid adhesive to stick down the silhouettes onto the panels and the panels onto the note cards.


Benutzte Materialien / Supplies I used
Papier / Paper
- Aquarellpapier Montval (Canson) / watercolour paper Montval (Canson)
- Cardstock in Weiß und Schwarz / cardstock in white and black
- Klappkarten in Weiß / pre-fold cards in white
Stanzen / Dies
- Shapeabilities Building a Snowman (Spellbinders)
- Shapeabilities Tree Picking (Spellbinders)
Stempel / Stamps
- Große Worte „Weihnachtspost“ (Karten-Kunst)
- Klartext-Stempelset „13-mal Frohe Weihnachten“ (Dani Peuss)
Stempelfarben / Inks
- VersaMark (Tsukineko)
Embossing / Heat-Embossing
- Metallic Silver Super Fine (WOW!)
- Opaque Bright White Super Fine (WOW!)
Werkzeug & Klebstoffe / Tools & Adhesives
- Antistatiktool / anti-static tool
- Big Shot + Platten + magnetische Platte / Big Shot + cutting pads + magentic platform
- Heat Tool (WOW!)
- Malerkrepp / masking tape
- Nuvo Deluxe Adhesive (Tonic Studios)
- Paper Trimmer 8,5″/22 cm 160e (Tonic Studios)
- Paper Trimmer 12,25″/31 cm Maxi Guillotine 1980ePaper Trimmer 12,25″/31 cm Maxi Guillotine 1980e (Tonic Studios)
- Pinsel / paintbrush
- Stamp Shammy (Lawn Fawn)
- Sticky Piercer (We R Memory Keepers)
- Tim Holtz Stamp Platform (Tonic Studios)
Farben / Paints & Pens
- Gansai Tambi 36 Colours Set (Kuretake)
