Was ich am meisten an Jennifer McGuires Tutorials schätze: Sie legt den Fokus so gut wie immer auf Techniken. Ihre Videos sind sehr informativ, und selbst wenn man ihren Designstil nicht mag (zu diesen Leuten zähle ich mich allerdings nicht), sollte man mal auf ihrem YouTube-Kanal vorbeischauen. Zu diesen zwei Dankeskarten bzw. dem embossten Element darauf wurde ich durch dieses Tutorial inspiriert.
What I love most about Jennifer McGuire’s tutorials: She almost always focuses on techniques. Her videos are very informative, and even if you don’t care for her designs (I do care for them!), you should take a look at her YouTube channel. This tutorial of hers inspired me to make these two thank you cards or rather the heat-embossed elements they feature.

How to
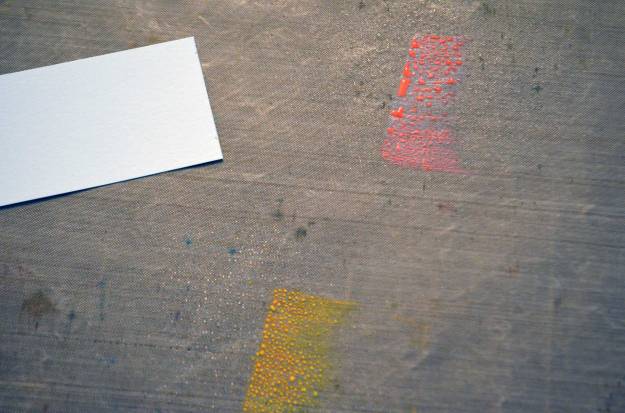
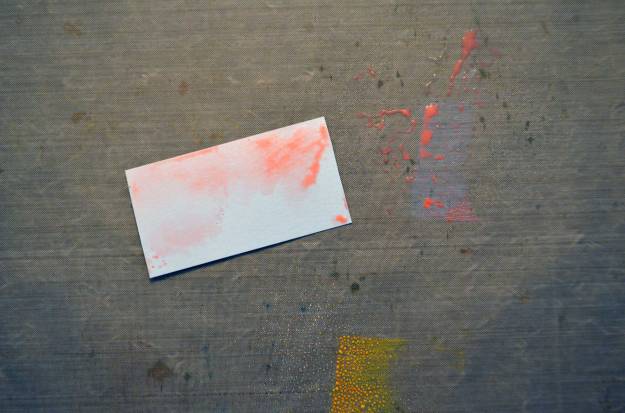
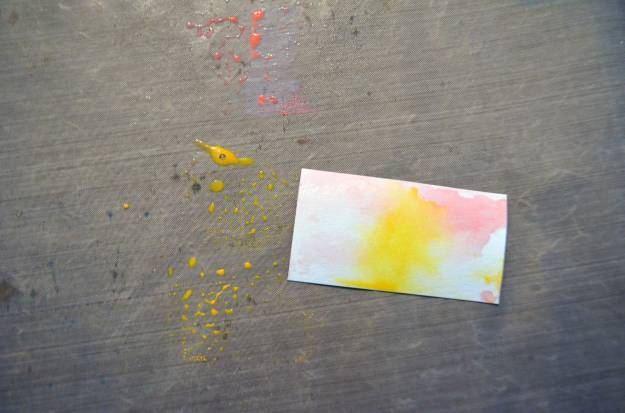
Zuerst habe ich einen Cardstockrest mit Distress Oxide Inks und etwas Wasser eingefärbt. Hier lässt sich nachlesen, wie die „Smooshing“-Technik, wie sie im Englischen gerne genannt wird, funktioniert – und die folgenden Bilder zeigen es ebenfalls.
I started with colouring a scrap of cardstock. I used Distress Oxide inks and water to do so. I write about how this „smooshing technique“ works here – and maybe you can also tell by looking at the following pictures.

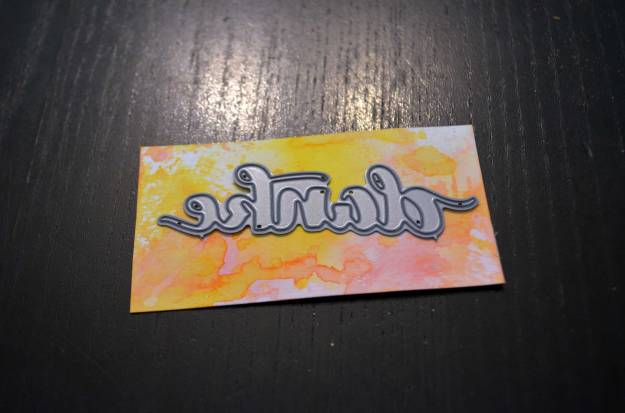
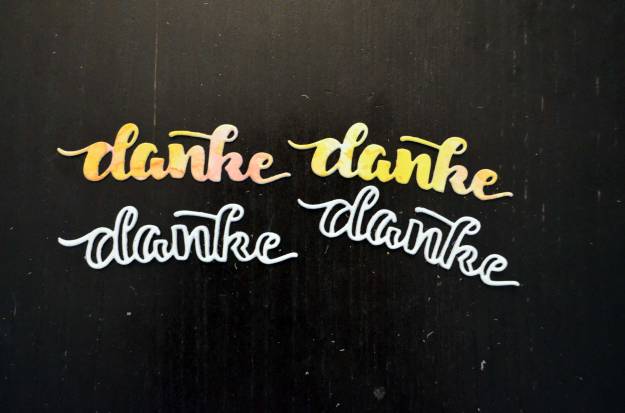
Dann habe ich das Wort „danke“ aus dem farbigen Stück Cardstock ausgestanzt.
Next, I die-cut the word „thanks“ from the coloured cardstock.
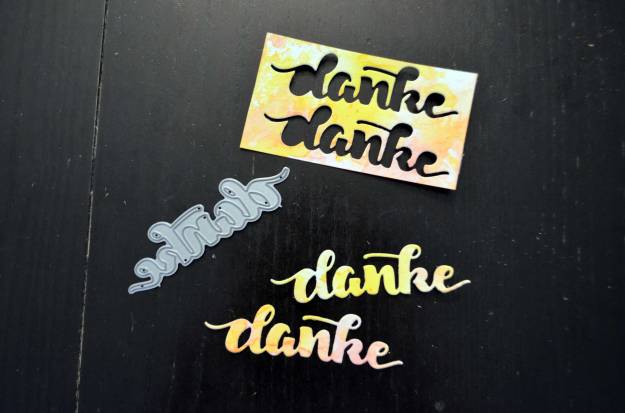
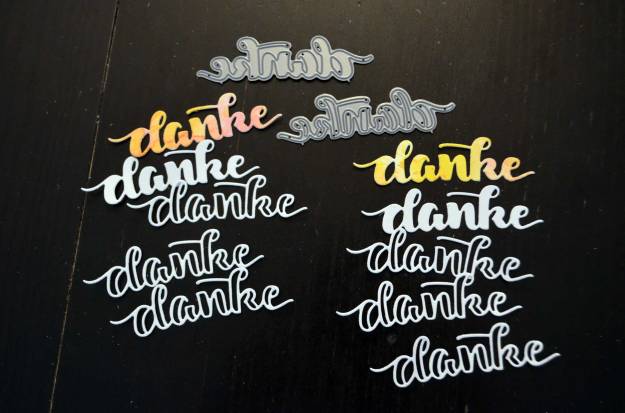
Als nächstes habe ich das Wort erneut ausgestanzt (dieses Mal aus weißem Cardstock) – und drei weitere Male die Outline desselben Worts (wieder aus weißem Cardstock).
Um mehr Dimension zu erzeugen, habe ich die Einzelteile jeweils aufeinandergeklebt.
Next, I die-cut the word again (this time from white cardstock). Also from white cardstock, I die-cut the outline of the same word thrice.
For more dimension, I stacked the parts.
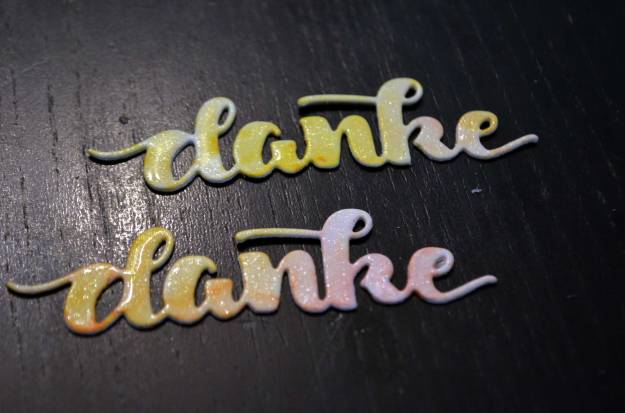
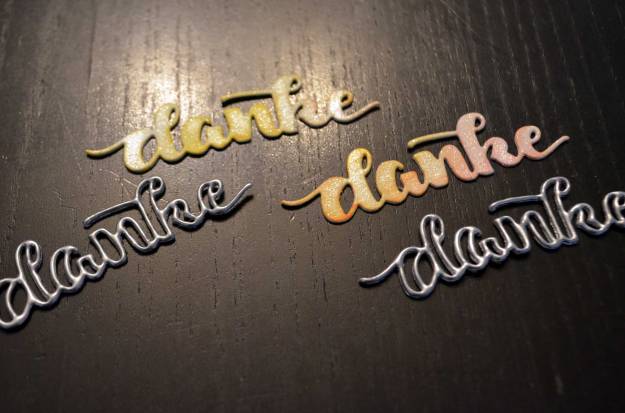
Das farbige Wort habe ich mit etwas Schimmer bepinselt.
I applied some shimmer to the coloured word.

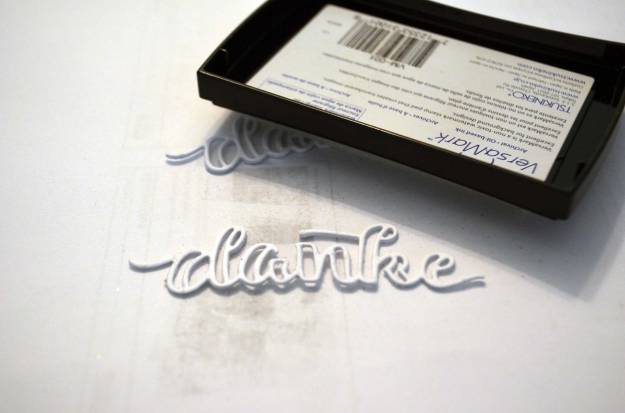
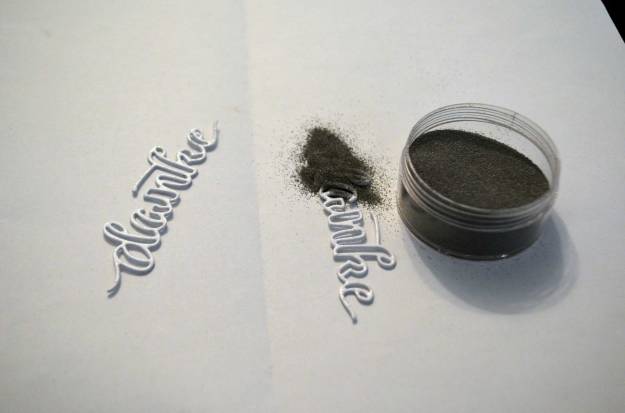
Die gestapelte Outline habe ich mit silbrigem Embossing Powder embosst – mehrmals, um den Eindruck zu erzeugen, dass das Wort aus Metall ist.
I heat-embossed the stacked outline with silver embossing powder. I did that several times in order to make the die-cut seem to be made from metal.


Anschließend habe ich die Outline auf das farbige Wort geklebt. Dafür habe ich einen Flüssigkleber mit feiner Spitze benutzt.
Next, I adhered the outline onto the coloured word. I used glue from a fine-tipped bottle.
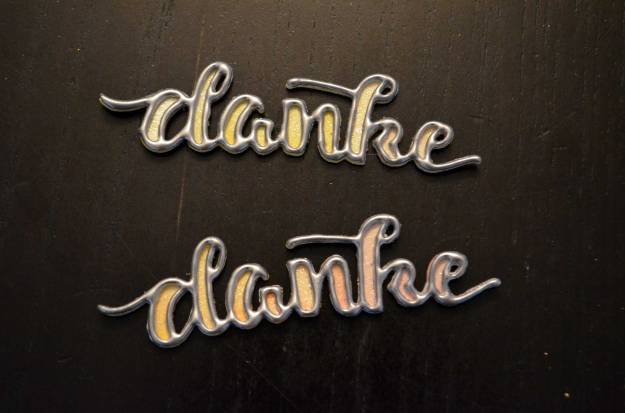
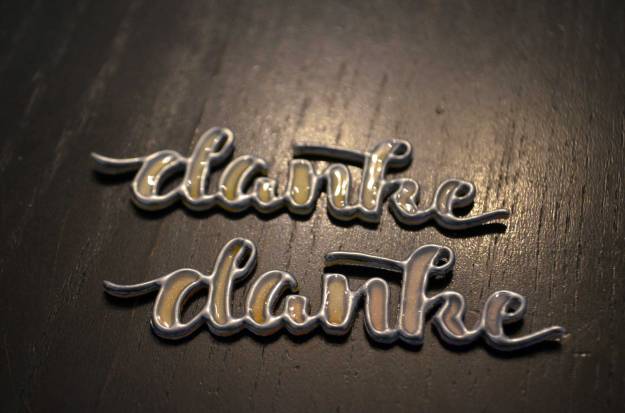
Mit Glossy Accents habe ich dann die Lücken aufgefüllt – so entsteht eine Art Bleiglasfenstereffekt.
I filled the gaps with Glossy Accents to create a kind of a stained glass window effect.

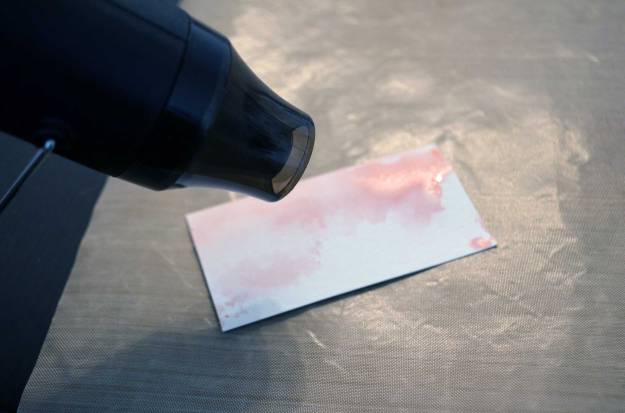
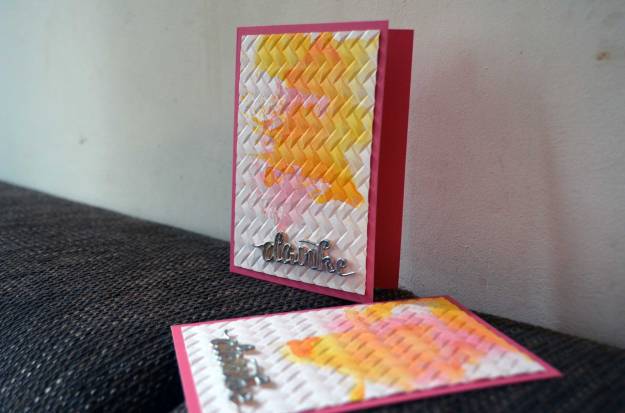
Die Panels habe ich mit den selben Distress Oxide Inks (und derselben Technik) wie das Wort eingefärbt – aber nur teilweise, viel Weißraum war mir wichtig. Nachdem das Panel trocken war, habe ich es in einen Prägefolder gesteckt und durch die Big Shot geschickt.
I coloured the panels with the same Distress Oxide inks (using the same technique) I used for the word – but only partially, I wanted to have lots of white space. After the panel was dry, I dry embossed it with an embossing folder and my Big Shot.


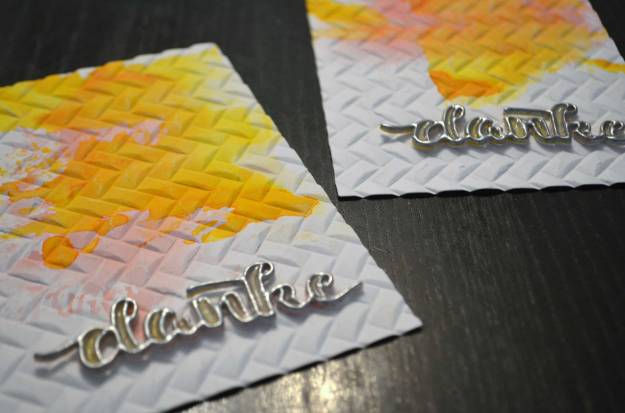
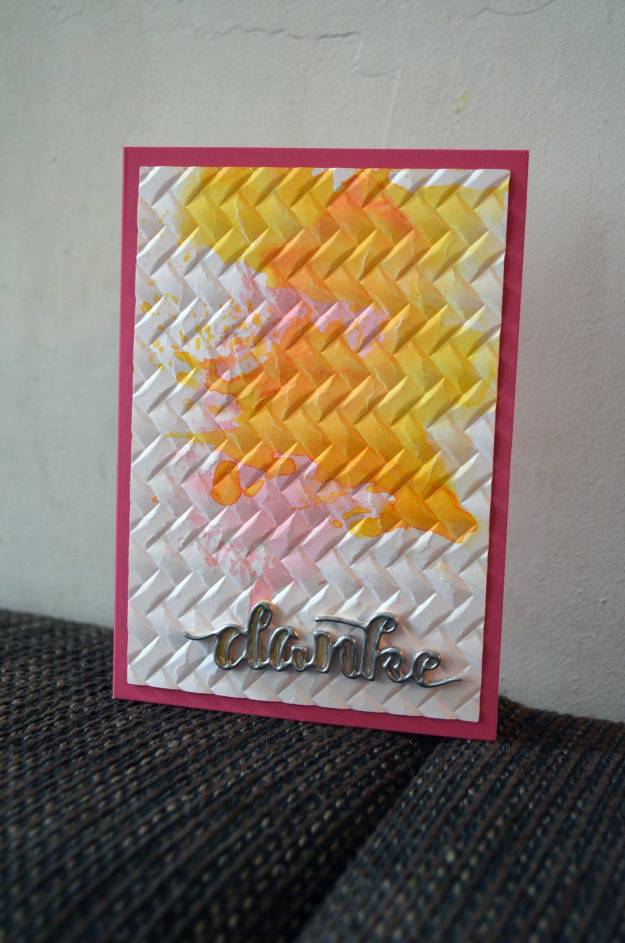
Zum Schluss habe ich alle Einzelteile mit Flüssigkleber aufeinander befestigt: das Panel auf der Klappkarte, das Wort auf dem Panel.
In the end, I used liquid adhesive to stick down everything: the panel onto the note card, the word onto the panel.


Benutzte Materialien / Supplies I used
Papier / Paper
- Cardstock(reste) in Weiß / (scraps of) cardstock in white
- Klappkarte in Magenta / pre-fold card in magenta
Stanzen / Dies
- Cool Cuts Doppeltes Danke (Create A Smile)
Stempelfarben / Inks
- Distress Oxide/Wild Honey, Worn Lipstick (Ranger)
- VersaMark (Tsukineko)
Embossing / Heat-Embossing
- Sternenstaub Silber (Heindesign)
Prägefolder / Embossing Folders
Werkzeug & Klebstoffe / Tools & Adhesives
- Big Shot + Platten + magnetische Platte / Big Shot + cutting pads + magentic platform
- Heat Tool (WOW!)
- Nuvo Deluxe Adhesive (Tonic Studios)
- On Point Glue (Imagine Crafts/Tsukineko)
- Paper Trimmer 8,5″/22 cm 160e (Tonic Studios)
Embellishments
- Glossy Accents (Ranger)
- Nuvo Aqua Shimmer Glitter Gloss (Tonic Studios)

Pingback: Danke auf Kraft / Thanks On Kraft | Felix bastelt
Pingback: Alkoholtinten-Trio / Alcohol Ink Trio | Felix bastelt
Pingback: Anemonen / Anemones | Felix bastelt