Als ich die schon hier gezeigte „Glasurtechnik“ das erste Mal gesehen habe, musste ich sofort an Fliesen denken und wie gut sich diese Technik zum Kreieren derselben eignen müsste. Auf diesen zwei Mixed-Media-Karten habe ich es ausprobiert.
When I saw the „glaze technique“ I’ve shown you here for the first time, the idea of tiles popped up in my head. I thought this technique must be ideal for creating them. I tried to do so on these two mixed media cards.
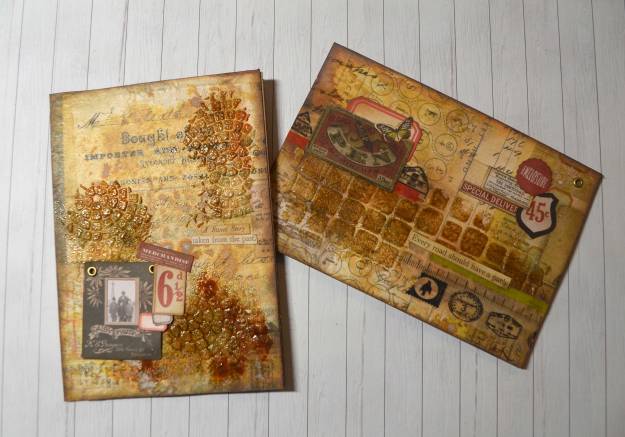
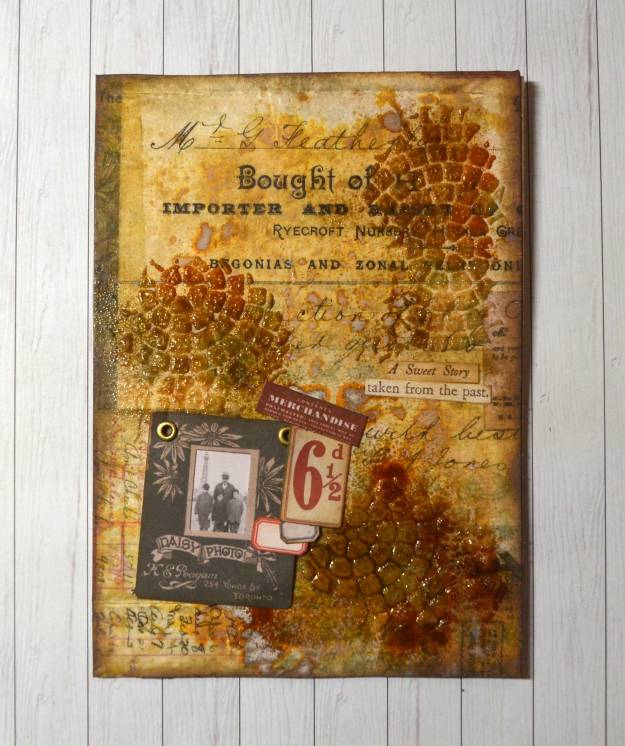
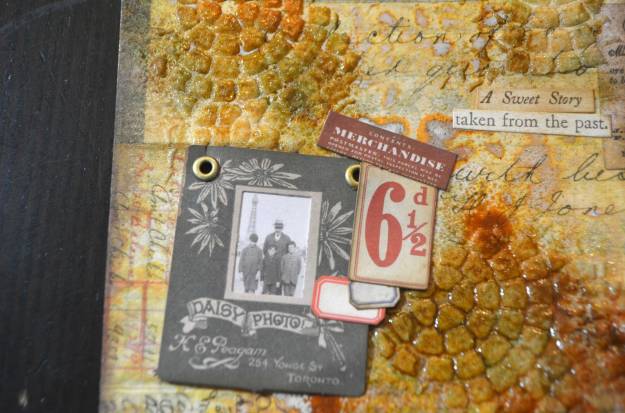
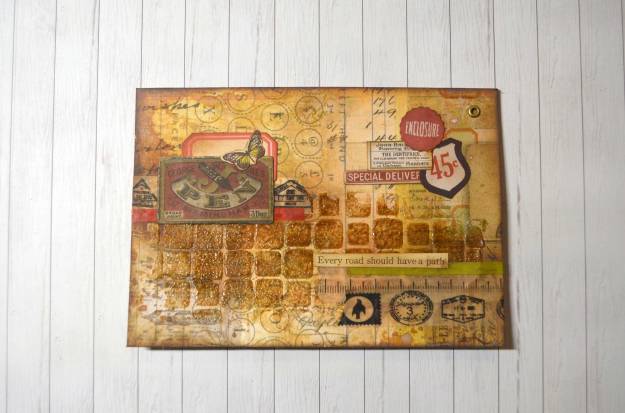
Das sieht doch tatsächlich aus wie echte Fliesen, oder?
They actually do look like real tiles, don’t they?
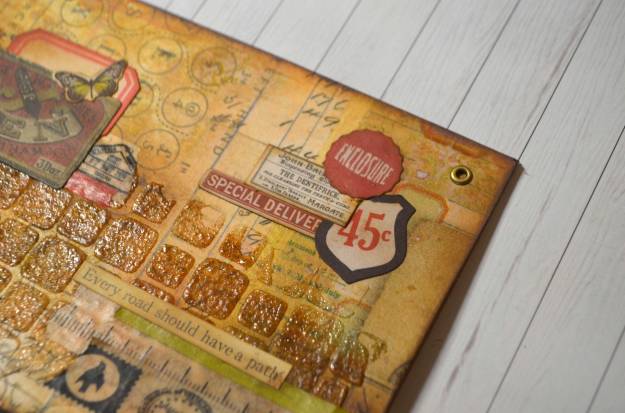
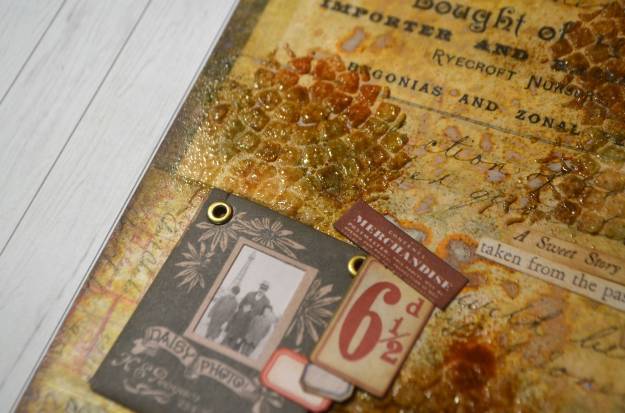
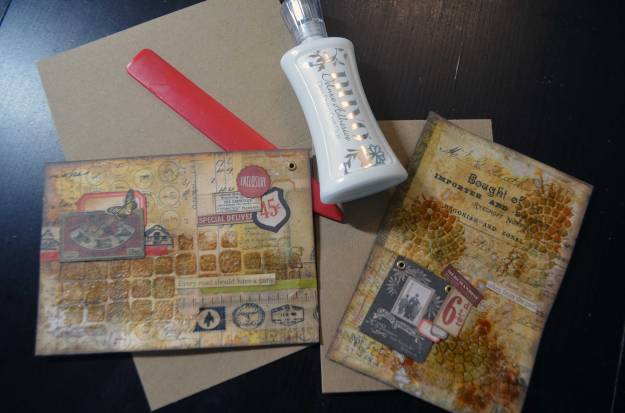
Und noch ein paar Bilder …
Some more pictures …


How to
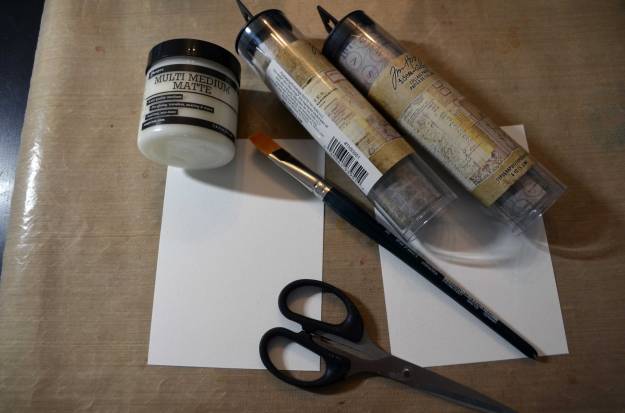
Zuerst habe ich zwei Cardstockpanels mit Collagepapier überzogen. Dafür habe ich die Panels dünn mit Multi Medium Matte bestrichen, ein passend zurechtgeschnittenes Stück Collagepapier aufgelegt, festgestrichen und umgeklappt. Unter die Flappen auf der Rückseite habe ich ebenfalls ein wenig Multi Medium aufgetragen.
First, I covered two cardstock panels with collage paper. To do so, I applied a thin layer of multi medium matte with a paintbrush and laid a piece of collage paper down. I smoothed the collage paper and folded the excess over. I applied multi medium under the collage paper’s flaps on the back of the panel as well.


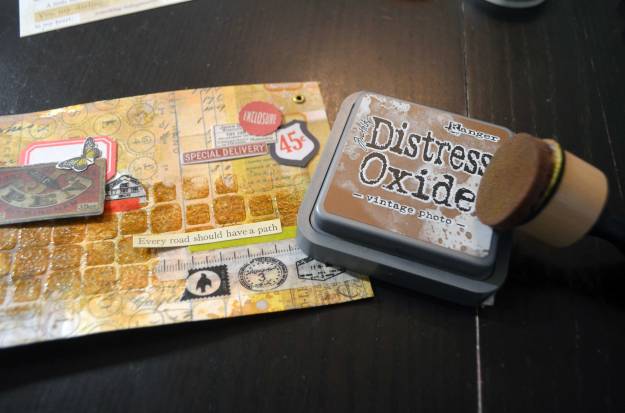
Auf meine Unterlage, ein Craft Sheet aus Silikon, habe ich vier Distress Oxide-Farbtöne aufgedrückt und mit Wasser besprüht. Anschließend habe ich die zwei Panels einfach in die Farben gedrückt. Bevor ich ein zweites Mal in die Farben gegangen bin, habe ich die Panels mit meinem Heat Tool getrocknet.
I pressed down four Distress Oxide ink pads onto my craft sheet and sprayed the inks with water. Then, I dipped my panels into the colours. Before I dipped a second time, I dried the panels with my heat tool.
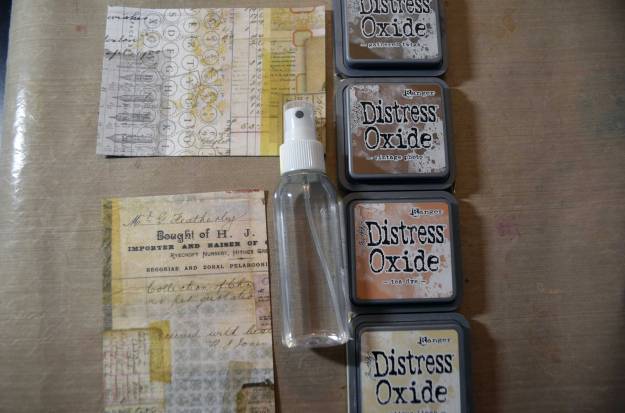
Da ich zum Aufkleben des Collagepapiers Multi Medium verwendet habe, habe ich aus dem porösen Papier ein ziemlich unporöses gemacht – um einen schönen Effekt mit Distress Oxides erzielen zu können, braucht man aber eigentlich poröses Papier. Daher ist der Effekt auf diesen Panels nur minimal.
Because I used multi medium to stick down the collage paper, I turned formerly porous into quite non-porous paper. To get a real nice result with Distress Oxides, you need porous paper. So on these panels, the effect is only minimal.

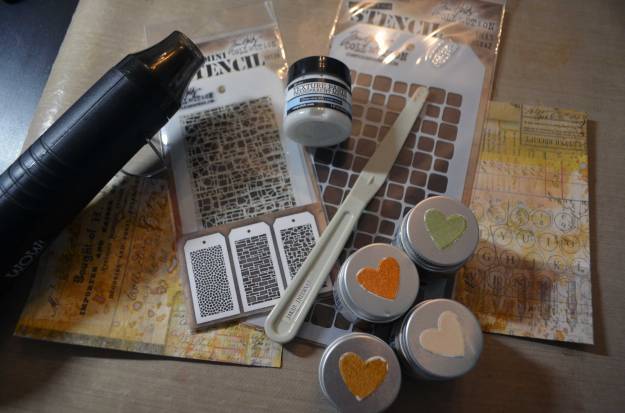
Dann habe ich transparente Texturpaste durch Schablonen aufgetragen, die noch feuchte Paste mit verschiedenen Distress Glaze-Farben bestreut und das Ganze mit dem Heat Tool geschmolzen bzw. getrocknet.
Next, I applied transparent texture paste through stencils and sprinkled the still wet paste with different colours of Distress Glaze. I used a heat tool to melt resp. dry the whole thing.
Dann ging es ans Verzieren: Dafür habe ich verschiedene kleine Ephemeras (das sind Cardstockstanzteile), Washi Tapes, Textsticker und Eyelets (Ösen) verwendet.
Then I embellished the panels. I used various small ephemeras (these are cardstock die-cuts), washi tapes, text stickers, and eyelets.

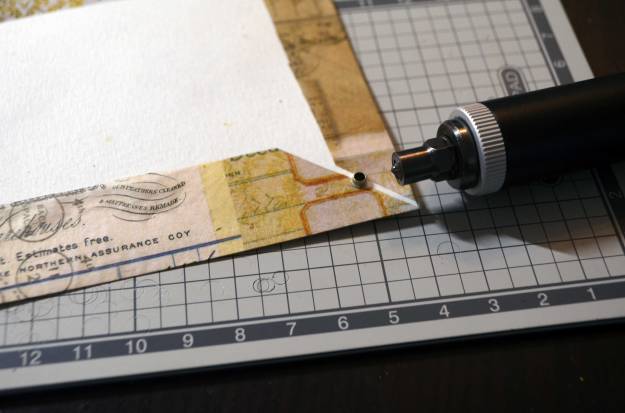
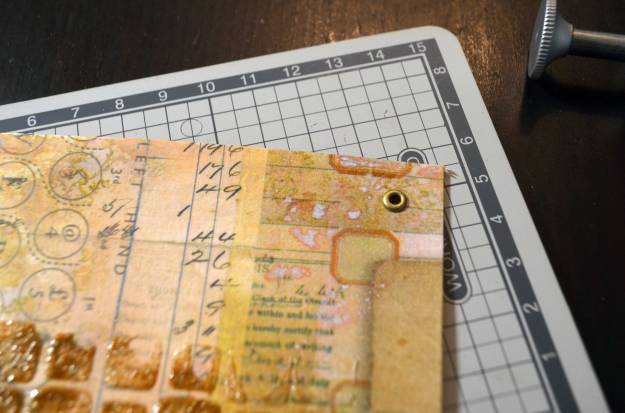
Hier sieht man, wie man einen Eyelet-Setter benutzt. Zuerst stanzt man ein Loch in der zum Eyelet passenden Größe, …
This is how you use an eyelet setter: First, you punch a hole in a size matching that of the eyelet.

… dann legt man das Eyelet (die Öse) so ein, dass die „schöne“ Seite dort ist, wo man sie sehen soll – also in diesem Fall auf der Vorderseite des Panels. Auf der Rückseite steht der Rest des Eyelets hervor und wird nun mit dem Setter umgebogen.
Next, you insert the eyelet so that the „nice“ side is where it shall be visible (in this case on the front of the panel). On the backside, the rest of the eyelet sticks out. This end will be flattened out – and the eyelet is set.
Noch detaillierter beschreibe ich das Eyeletsetzen hier (ihr müsst ein wenig nach unten scrollen, bis der Eyeletteil kommt).
I describe eyelet setting in more detail here (scroll down to the last third of the text).

Washi Tapes, Ephemeras und Sticker habe ich mithilfe von Blending Tools und Distress Oxides etwas eingefärbt – dasselbe habe ich mit dem Rand des Panels gemacht. Zum Festkleben der Ephemeras habe ich Flüssigkleber benutzt.
I applied Distress Oxides to the washi tapes, ephemeras, and stickers by using blending tools – and I did the same on the edges of the panels. To adhere the ephemeras, I used liquid glue.


Nachdem ich mit meinen Panels zufrieden war, habe ich sie auf Klappkarten geklebt.
Once I was happy with my panels, I used liquid glue to adhere them onto note cards.
Benutzte Materialien / Supplies I Used
Papier / Paper
- Klappkarte (DIN A6) in Kraft (Craft UK Ltd.) / pre-fold card (DIN A6) in kraft (Craft UK Ltd.)
- Paint’ON, A5, 250 g/m² (Clairefontaine)
- Tim Holtz Idea-ology Document Collage Paper (Advantus)
- Tim Holtz Idea-ology Typography Collage Paper (Advantus)
Stempelfarben / Inks
- Tim Holtz Distress Oxide/Antique Linen, Gathered Twigs, Ground Espresso, Tea Dye, Vintage Photo (Ranger)
Embossing / Heat-Embossing
- Tim Holtz Distress Embossing Glaze/Antique Linen, Fossilized Amber, Peeled Paint, Vintage Photo (Ranger)
Schablonen / Stencils
- Tim Holtz Layering Stencils: Tiles (Stampers Anonymous)
- Tim Holtz Mini Layering Stencil Sets: #28 (Stampers Anonymous)
Werkzeug & Klebstoffe / Tools & Adhesives
- Blending Tools (Ranger)
- Eyelet-Setter (Rayher)
- Falzbein / bone folder
- Heat Tool (WOW!)
- Make-up-Bürsten (EMax Design) / make-up brushes (EMax Design)
- Multi-Medium Matte (Ranger)
- Nuvo Deluxe Adhesive (Tonic Studios)
- Paper Trimmer 8,5″/22 cm 160e (Tonic Studios)
- Pinsel / paintbrush
- Schere / scissors
- Spachtel / palette knife
- Sprühflasche / spray bottle
- Washi Tape / washi tape
Embellishments
- Eyelets (Fiskars)
- Texture Paste Transparent Matte (Ranger)
- Tim Holtz Idea-ology Clippings Sticker Book (Advantus)
- Tim Holtz Idea-ology Snippets Ephemera (Advantus)
